


Table of Contents
ToggleMoving out? Your landlord isn’t just checking for nail holes and carpet stains, pest control is one of the most critical items on their inspection checklist. A single roach, bed bug, or rodent sign can cost you your entire security deposit and saddle you with costly remediation fees. End of lease pest control isn’t optional if you want to protect your money and maintain a positive rental reference. This guide walks you through exactly what landlords expect, whether you should DIY or call in the pros, and how to prepare your property so nothing surprises you on move-out day.
Key Takeaways
- End of lease pest control is essential to protect your security deposit—landlords can legally withhold funds for professional extermination costs ranging from $300–$1,500 if pests are discovered after move-out.
- Review your lease agreement and local housing codes before spending money on pest control, as responsibilities vary by jurisdiction and lease terms may protect you from tenant charges.
- Call a licensed pest control company immediately for bedbugs, cockroach infestations, or rodent droppings, since DIY treatments typically fail and landlords require professional inspection reports as proof of compliance.
- Thoroughly clean and seal entry points, check under appliances, remove cardboard boxes, and eliminate moisture sources during your move-out preparation to pass the landlord’s pest inspection.
- Document the clean property with photos and request written treatment certificates from professionals—this evidence protects you from future disputes over withheld deposits or damage charges.
- Leaving a pest-free property protects your rental history and rental reference, preventing pest problems from following you to future rental applications in competitive markets.
Why End of Lease Pest Control Matters for Your Security Deposit
Your security deposit is meant to cover legitimate damages and unpaid rent, but landlords can legally withhold funds for pest infestations if it’s written into your lease. A single pest problem, whether it’s cockroaches, bed bugs, fleas, or rodent droppings, gives them legal grounds to charge you for professional extermination, deep cleaning, and even structural repairs if pests have chewed through insulation or drywall.
Most residential leases include a clause requiring tenants to leave the property “pest-free” or “in the same condition as move-in day.” Landlords typically hire licensed exterminators to inspect and treat properties between tenants, and those bills aren’t cheap. A full-property pest treatment can run $300–$1,500 depending on infestation severity and the size of your rental. If the landlord discovers pests after you’ve moved out, you’re liable for the entire cost, not just a portion.
Beyond finances, leaving a pest-infested property damages your rental history. Landlords talk to each other, and a record of pest problems follows you to your next rental application. References and rental history reports matter when applying for future properties, especially competitive markets where landlords can afford to be selective.
Understanding Your Lease Requirements and Local Regulations
Before you spend a dime on pest control, review your lease agreement carefully. Look for language about pest control responsibility, who pays for treatment, and what condition the property must be in at move-out. Some leases explicitly state the tenant pays for pest control: others place that responsibility on the landlord.
Local housing codes also matter. Many jurisdictions require landlords to maintain rental properties free from pest infestations under habitability standards, which means the landlord is technically responsible for providing a pest-free unit. But, if you introduced pests through neglect or unsanitary conditions, you’re still on the hook. Laws vary significantly by state and municipality, some areas allow landlords broad latitude to charge tenants for pest treatment, while others restrict those charges to specific circumstances.
Check your city or county housing code online or call your local health department. Many areas have free resources listing tenant rights about pest control. If your lease contradicts local law, local law typically wins. Getting this clarity upfront prevents disputes during your move-out inspection and potential small claims court cases over withheld deposits.
DIY vs. Professional Pest Control: Which Option Is Right for You
When to Handle It Yourself
If you’ve spotted a few ants, a single spider, or light pest activity with no evidence of a serious infestation, and you’re months away from move-out, DIY prevention makes sense. Proper sanitation, sealing cracks and gaps, using bait traps, and applying over-the-counter insecticides can contain minor pest problems.
DIY pest control also works when your lease puts the burden on you and you want to save money before you’ve seen actual pests. Preventive steps cost under $50 and take a weekend: caulk around baseboards and pipes, vacuum thoroughly, remove clutter, and apply sticky traps to monitor for activity. Home Pest Control tips can guide you through preventive tactics.
But, be honest about the limits. If you discover bedbugs, a cockroach infestation, or rodent droppings, DIY treatment usually fails and wastes critical time. Landlords will notice, and you’ll end up paying for both your failed attempt and the professional treatment anyway.
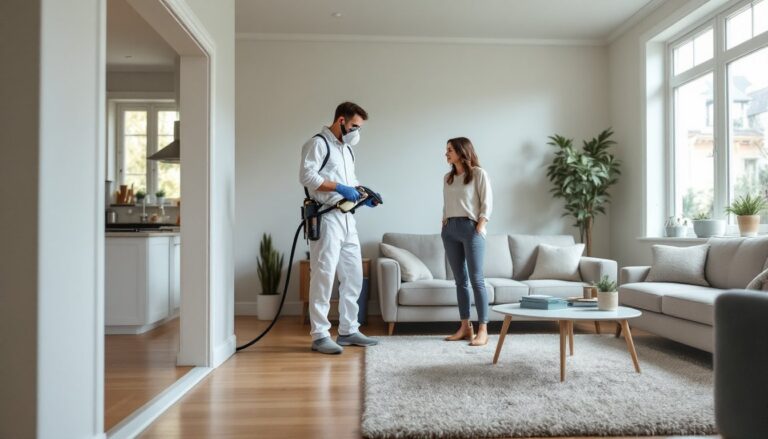
When to Hire a Professional
Call a licensed pest control company immediately if you find evidence of bedbugs, active cockroach nests, rodent droppings, or any infestation you can’t identify. Professional exterminators have access to stronger treatments, know how to follow up properly, and provide documentation that satisfies landlord requirements.
Most landlords won’t accept tenant DIY pest treatment as proof the property is clean, they want to see a licensed professional’s inspection report and treatment certificate. A professional document protects you because it shows you took the problem seriously and complied with lease terms. If pests reappear after professional treatment, that’s the exterminator’s responsibility, not yours.
Hiring a pro also saves time when you’re already deep into moving prep. Exterminators typically complete treatments within 1–2 visits and can schedule around your move-out date. Services like HomeAdvisor help you compare local pest control companies and see pricing upfront.
Step-by-Step Guide to Preparing Your Property for Pest Inspection
-
Clean thoroughly and remove clutter. Pests hide in clutter, cardboard boxes, and under appliances. Empty cabinets, drawers, and closets completely. Vacuum all carpets and hard floors, including corners and under furniture. Wipe down baseboards and the inside of cabinets with a damp cloth to remove food debris and pest droppings that inspectors look for.
-
Seal entry points. Use paintable caulk or foam sealant to seal gaps around baseboards, pipes, electrical outlets, and where utility lines enter the home. Pay special attention to the kitchen and bathroom where pipes create larger gaps. Pests can fit through surprisingly small openings, anything larger than 1/4-inch should be sealed.
-
Check under appliances and fixtures. Pull out the refrigerator, stove, and dishwasher. Vacuum behind and under them thoroughly. Roaches and rodents love these spaces. Don’t just spot-clean the visible area, remove the appliance if possible and clean the entire space behind it.
-
Dispose of boxes and cardboard. Cardboard is a roach magnet and harbors eggs and droppings. Break down all moving boxes and put them in the recycling bin or dumpster. Use plastic bins if you need to store items temporarily.
-
Check for moisture and standing water. Fix any leaks under sinks, around toilets, or in the basement. Drain the dishwasher completely and wipe it dry. Pests need water to survive, and areas with moisture attract them more than anything else.
-
Inspect hidden areas. Look behind the toilet, inside kitchen and bathroom cabinets (especially under the sink), in the attic if accessible, and in the garage or basement. Pay attention to dark corners where pests congregate. Use a flashlight and look for droppings, egg casings, or dead insects.
-
Schedule professional inspection if needed. If you find any signs of infestation or want peace of mind, hire a licensed pest control company 1–2 weeks before your move-out date. This gives time for treatment and a follow-up visit if necessary. Request a written inspection report and treatment certificate to give your landlord.
-
Document everything. Take photos of the clean property before your move-out inspection. If disputes arise later, you’ll have evidence you left the property pest-free. Use resources like freshome.com moving checklists to track your move-out tasks.
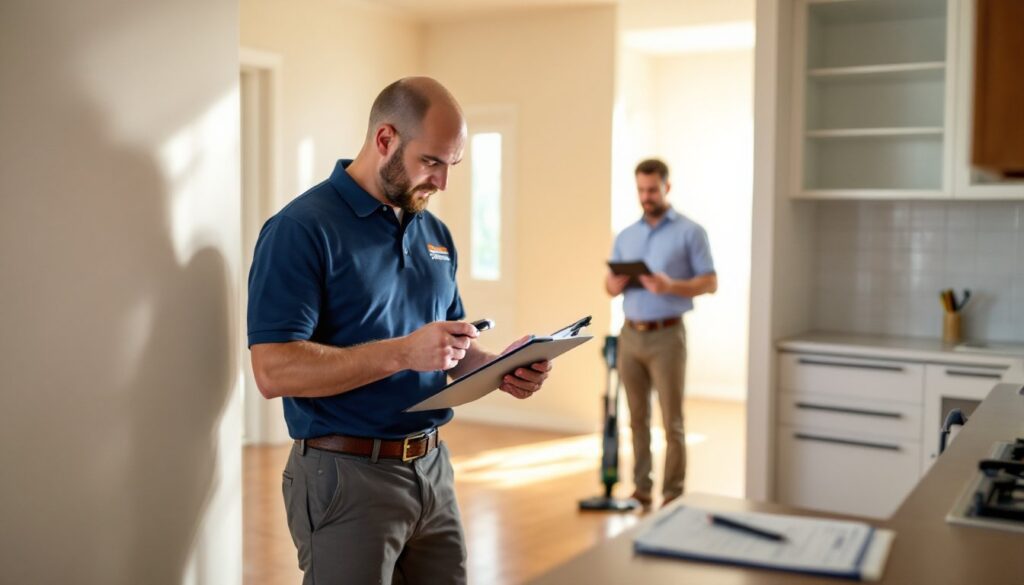
Common Issues Landlords Check During Move-Out Inspections
Landlords perform pest checks alongside general move-out inspections, and they know what to look for. Here’s what they’ll examine:
Droppings and fecal matter. Roach droppings look like tiny black specks: rodent droppings are larger pellets. Landlords check baseboards, inside cabinets, drawers, and behind appliances. Even old droppings signal a past infestation, which they may charge to remediate.
Dead insects or shed exoskeletons. Finding a dead cockroach or bed bug skin (exuvia) indicates active or recent infestation. Landlords will document these as evidence.
Gnaw marks, chew damage, or holes. Rodents leave telltale gnaw marks on wood, drywall, and wiring. Structural damage from rodents is expensive to repair and landlords take it seriously.
Stains, odors, or greasy residue. Pest infestations often leave discoloration on walls and floors. Roaches secrete a greasy substance that leaves marks. Rodent urine creates yellow stains. A musty odor indicates serious infestation.
Bed bug evidence. Landlords specifically check mattress seams, box springs, headboards, and upholstered furniture. They look for live bugs, fecal spots (small dark dots), or shed skins. Bed bugs are costly to treat and persist across tenant turnovers, so landlords are aggressive about documenting them.
Pest control treatment certificates. If you hired a professional, have the documentation ready. Landlords want to see the date of service, what pests were treated, and the company’s name and license number. This reassures them the problem was handled properly.
If your inspection reveals pest issues after you’ve moved out, the landlord will hire treatment and charge you. That’s why catching and addressing problems early matters. Home Defense Pest Control tips offer additional prevention strategies to keep properties consistently protected throughout your tenancy.