


Table of Contents
ToggleCarpenter ants aren’t like the common sugar ants marching through your kitchen, they’re structural pests that tunnel through wood, leaving behind damage that costs serious money to repair. Unlike termites, they don’t eat wood for nutrition: they hollow it out to nest, which means an infestation can quietly compromise your home’s framing, joists, and support beams. Spotting them early and taking action makes the difference between a manageable DIY fix and calling in the professionals. This guide covers what carpenter ants actually are, how to spot them before they become a real problem, and the proven strategies to eliminate active infestations and prevent them from coming back.
Key Takeaways
- Carpenter ant pest control requires addressing moisture first, since damp wood attracts colonies that tunnel through structural framing and can cost thousands in repairs.
- Early detection is critical—look for frass (sawdust piles), hollow-sounding wood when tapped, and nocturnal ant trails near baseboards or window frames before damage spreads.
- For active infestations, baiting stations are the most effective DIY approach, working best in spring and early summer when ants actively forage and carry poison back to the colony.
- Seal exterior cracks, trim tree branches 6 feet from your roof, store firewood 20 feet away, and maintain gutters to eliminate entry points and nesting conditions.
- Call a professional pest control expert if carpenter ants infest load-bearing walls, multiple nests exist, or DIY treatment fails after 3 weeks.
- Maintain twice-yearly inspections and address water damage immediately to prevent carpenter ant reinfestation and protect your home’s structural integrity.
What Are Carpenter Ants and Why They’re a Problem
Carpenter ants are large black or reddish-black ants, typically 0.5 to 1 inch long, that nest in wood. The key distinction: they excavate galleries (tunnels) in wood to build nests, but they don’t consume it like termites do. They’re attracted to moisture-damaged or softened wood, making damp basement joists, rotting roof eaves, and water-leaky window sills prime real estate.
Why are they a problem? A single colony can contain thousands of workers and grow to several satellite nests over time. Left unchecked, they’ll tunnel through structural framing, weakening it and potentially causing sagging floors, cracked drywall, or even collapse in severe cases. Repair bills can run into the thousands once structural damage occurs. The damage they cause is silent, there’s no chewing noise like termites, just quiet excavation happening inside your walls. By the time most homeowners notice sawdust near the nest (called frass), the damage is already underway.
Signs You Have a Carpenter Ant Infestation
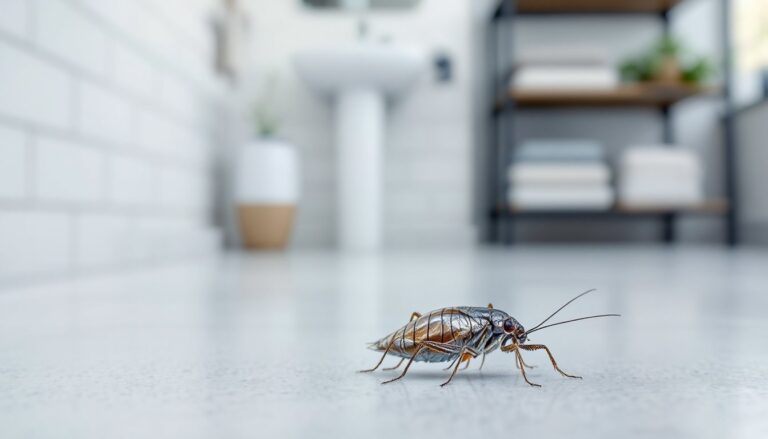
The earliest sign is spotting actual ants. You might see them at night near baseboards, in kitchen cabinets, or trailing along exterior walls. Carpenter ants are nocturnal foragers, so daytime sightings often mean a nest is close by.
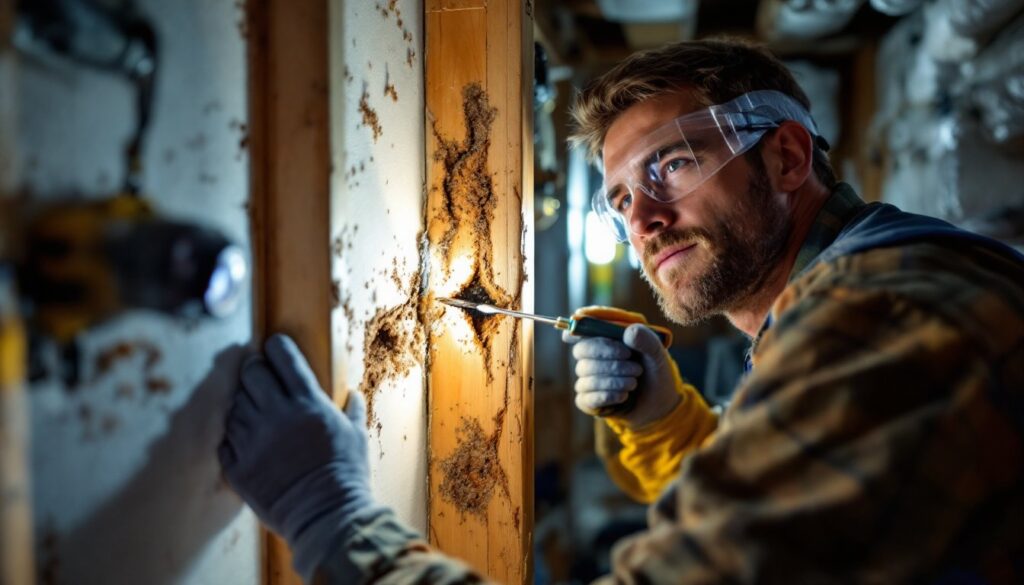
Look for frass, small piles of sawdust mixed with ant body parts, near wood surfaces. Unlike termite droppings, carpenter ant frass appears in tidy little mounds, often found around window frames, door frames, or along baseboards. Check inside walls by drilling a small inspection hole and using a flashlight or borescope (a small camera on a flexible tube) to look inside.
Tap suspect areas with a screwdriver. Solid wood feels firm: wood tunneled by carpenter ants sounds hollow or produces a papery crunch. Soft or water-damaged wood is especially vulnerable, check around bathroom pipes, under kitchen sinks, and any area where water has leaked. Listen at night: colonies inside walls sometimes make faint rustling or clicking sounds. If you’re hearing activity but can’t locate the nest visually, marking the area with tape helps narrow the search zone.
DIY Carpenter Ant Prevention Strategies
Prevention is cheaper and easier than treatment. Start by eliminating moisture, since damp wood is an open invitation. Fix leaky roofs, gutters, and downspouts promptly. Ensure downspouts direct water at least 4 to 6 feet away from the foundation. Check under sinks and around toilets for slow leaks that go unnoticed for months.
Seal exterior cracks and gaps with caulk or weatherstripping. Carpenter ants enter homes through tiny openings where utility lines enter, around windows, and where wood trim meets the house. Keep tree branches trimmed back at least 6 feet from the roof and siding, branches touching the house are a highway for ants to enter.
Remove wood-to-soil contact. Deck posts, fence lines, and landscaping timbers sitting directly on soil absorb moisture and invite nesting. A 2-inch gravel barrier under landscaping wood or concrete footers under decking reduces this risk. Store firewood at least 20 feet from the house and keep the pile elevated on a rack, not on the ground.
Use natural pest control methods as part of your broader natural pest control methods that actually work strategy. Remove dead tree stumps and dead limbs from your yard, as carpenter ants nest in dead wood. The less standing dead wood on your property, the less attractive your property becomes.
Effective Treatment Methods for Active Infestations
If you’ve confirmed an active nest, treatment depends on whether the nest is inside walls (harder to reach) or in exterior wood (more accessible).
Baiting is the most effective DIY approach. Use carpenter ant baits (typically containing hydramethylnon or fipronil) placed near trails or suspected nest areas. Workers carry poisoned bait back to the colony, slowly eliminating the entire nest over 1 to 2 weeks. Baits work best in spring and early summer when ants are actively foraging. Read the label carefully: some baits are weather-resistant and work outdoors, while others are for indoors only.
Dusts like diatomaceous earth (food-grade) or boric acid dust can be injected directly into galleries if you’ve drilled access holes. Wear a respirator mask and gloves, boric acid is toxic if inhaled or ingested. Diatomaceous earth damages the insect’s exoskeleton: it’s lower-toxicity but works slower. Inject dust into holes using a bulb duster or hand-pump applicator, then seal the holes with caulk afterward.
Perimeter sprays applied around the foundation and wall voids can intercept foraging ants. Use an insecticide labeled for carpenter ants (bifenthrin, permethrin, or imidacloprid-based products work well). Spray the exterior foundation to a height of 2 to 3 feet, paying special attention to cracks, corners, and areas where wood meets the ground. Wear safety glasses and gloves. Most effective in late spring and early fall when ants are more active.
Research from This Old House’s guide on carpenter ant removal emphasizes that fixing the moisture problem alongside treatment is essential, without it, new colonies will move in.
When to Call a Professional Pest Control Expert
Call a professional if you discover carpenter ants in load-bearing walls, structural posts, or beams. Accessing these areas safely often requires removing drywall or siding, and treating them requires specialized equipment and expertise. A licensed pest control technician can use thermal imaging or borescopes to locate hidden nests and assess damage.
Also call a professional if the infestation is widespread (multiple visible nest sites), if DIY baiting hasn’t reduced ant activity after 3 weeks, or if you’re uncomfortable using insecticides. Many homeowners combine DIY prevention with professional treatment for peace of mind.
Before hiring, verify the company’s licensing and read recent reviews. A good pest control service will inspect the property, identify moisture sources, recommend repairs, and offer a warranty on treatment. Costs vary by region and severity, but expect $300 to $800 for an initial inspection and treatment. Some companies offer pest control services that extend beyond carpenter ants to include home pest defense against stink bugs, termites, and other household intruders.
Long-Term Maintenance to Prevent Future Infestations
Once you’ve eliminated an infestation, maintenance prevents a comeback. Inspect the house twice a year, spring and fall, looking for new sawdust, soft wood, or visible ants. Pay special attention to the areas where the original infestation occurred: carpenter ants sometimes return if conditions haven’t fully changed.
Maintain gutters and downspouts. Clogged gutters overflow, soaking soffits and fascia. Fascia replacement runs $1,500 to $3,000 depending on the house size, so keeping gutters clean is a cheap insurance policy. Test wood around water-prone areas with a screwdriver annually: soft spots signal moisture problems that need fixing before ants show up.
Keep mulch and landscaping materials at least 6 inches away from the house foundation. Mulch holds moisture and provides a moist bridge for ants to find their way in. The same goes for stacked firewood, stored lumber, or old outdoor furniture, keep it away from the house.
If you had professional treatment, most companies offer annual maintenance visits or monitoring programs. Even a hands-off homeowner benefits from a yearly inspection that catches problems early. Between inspections, stink bug pest control and pet flea control are other pest concerns worth staying on top of as part of comprehensive home pest defense.
Conclusion
Carpenter ants are a serious pest, but early detection and swift action keep them from becoming a structural nightmare. Start by fixing moisture problems and sealing entry points, that’s 80% of the battle. If you spot an active infestation, baiting and dusts are solid DIY options for localized nests. For hidden or widespread infestations, calling a professional is the right move. Stay vigilant with twice-yearly inspections and address water damage immediately, and you’ll keep your home protected for years to come.